For today I offer you a large doll pattern for Legoshi from Beastars. I opted to make him with the same chibi proportions I give my Animal Crossing Dolls and I used for Haida. A lot of his detailing is done with glued on felt, as I opted for his vest-less outfit, as I wanted to give my hand and making suspenders. You can definitely make his suspenders less detailed, or make him a little vest to go on top. His face is felted on with felting needles with details done with fine tip permanent marker. You could totally swap that out for glued or sewn felt if that's more of your vibe. I opted to give him his uncomfortable expression but feel free to make him happier if you wish. As always my patterns are written in US crochet terms, if you have any issues or find a typo or mistake please leave a comment. Thank you.
Materials:
- Crochet hook (3.25mm)
- Felting needles
- Yarn needle
- Medium weight yarn in grey blue, grey, white, and cream.
- Felt in White, black, brown and grey, and cream.
- Fine tip permanent markers in black, grey, and brown.
- Glue
- Polyfil
Legs (x2):
In brown.
1: CH6 turn.
2: SC10 around (10)
4: (SC1, INC) x5 (15)
5: (SC2, INC) x5 (20)
6: BLO SC20 (20)
7: SC8, DEC, DEC, SC8 (18)
8: SC6, DECx3, SC6 (15)
Switch to grey.
9-15:
SC15 (15) Finish off on one leg, do not finish off on the second. Just
continue by working both legs together at the next round.
Body:
Join both legs together at round 16 and SC in the round to make the tum.
16: SC5 in right leg, then join by SC15 around left leg, SC10 around right leg. (30)
17: (SC 5, INC) x6 (36)
18: SC36 (36)
switch to white.
19-22: SC 36
23: (SC4 DEC) x6 (30)
24: SC30 (30)
25: (SC3 DEC) x6 (24)
26-28: SC24 (24)
29: (SC2 DEC) x6 (18)
30: SC18 (18)
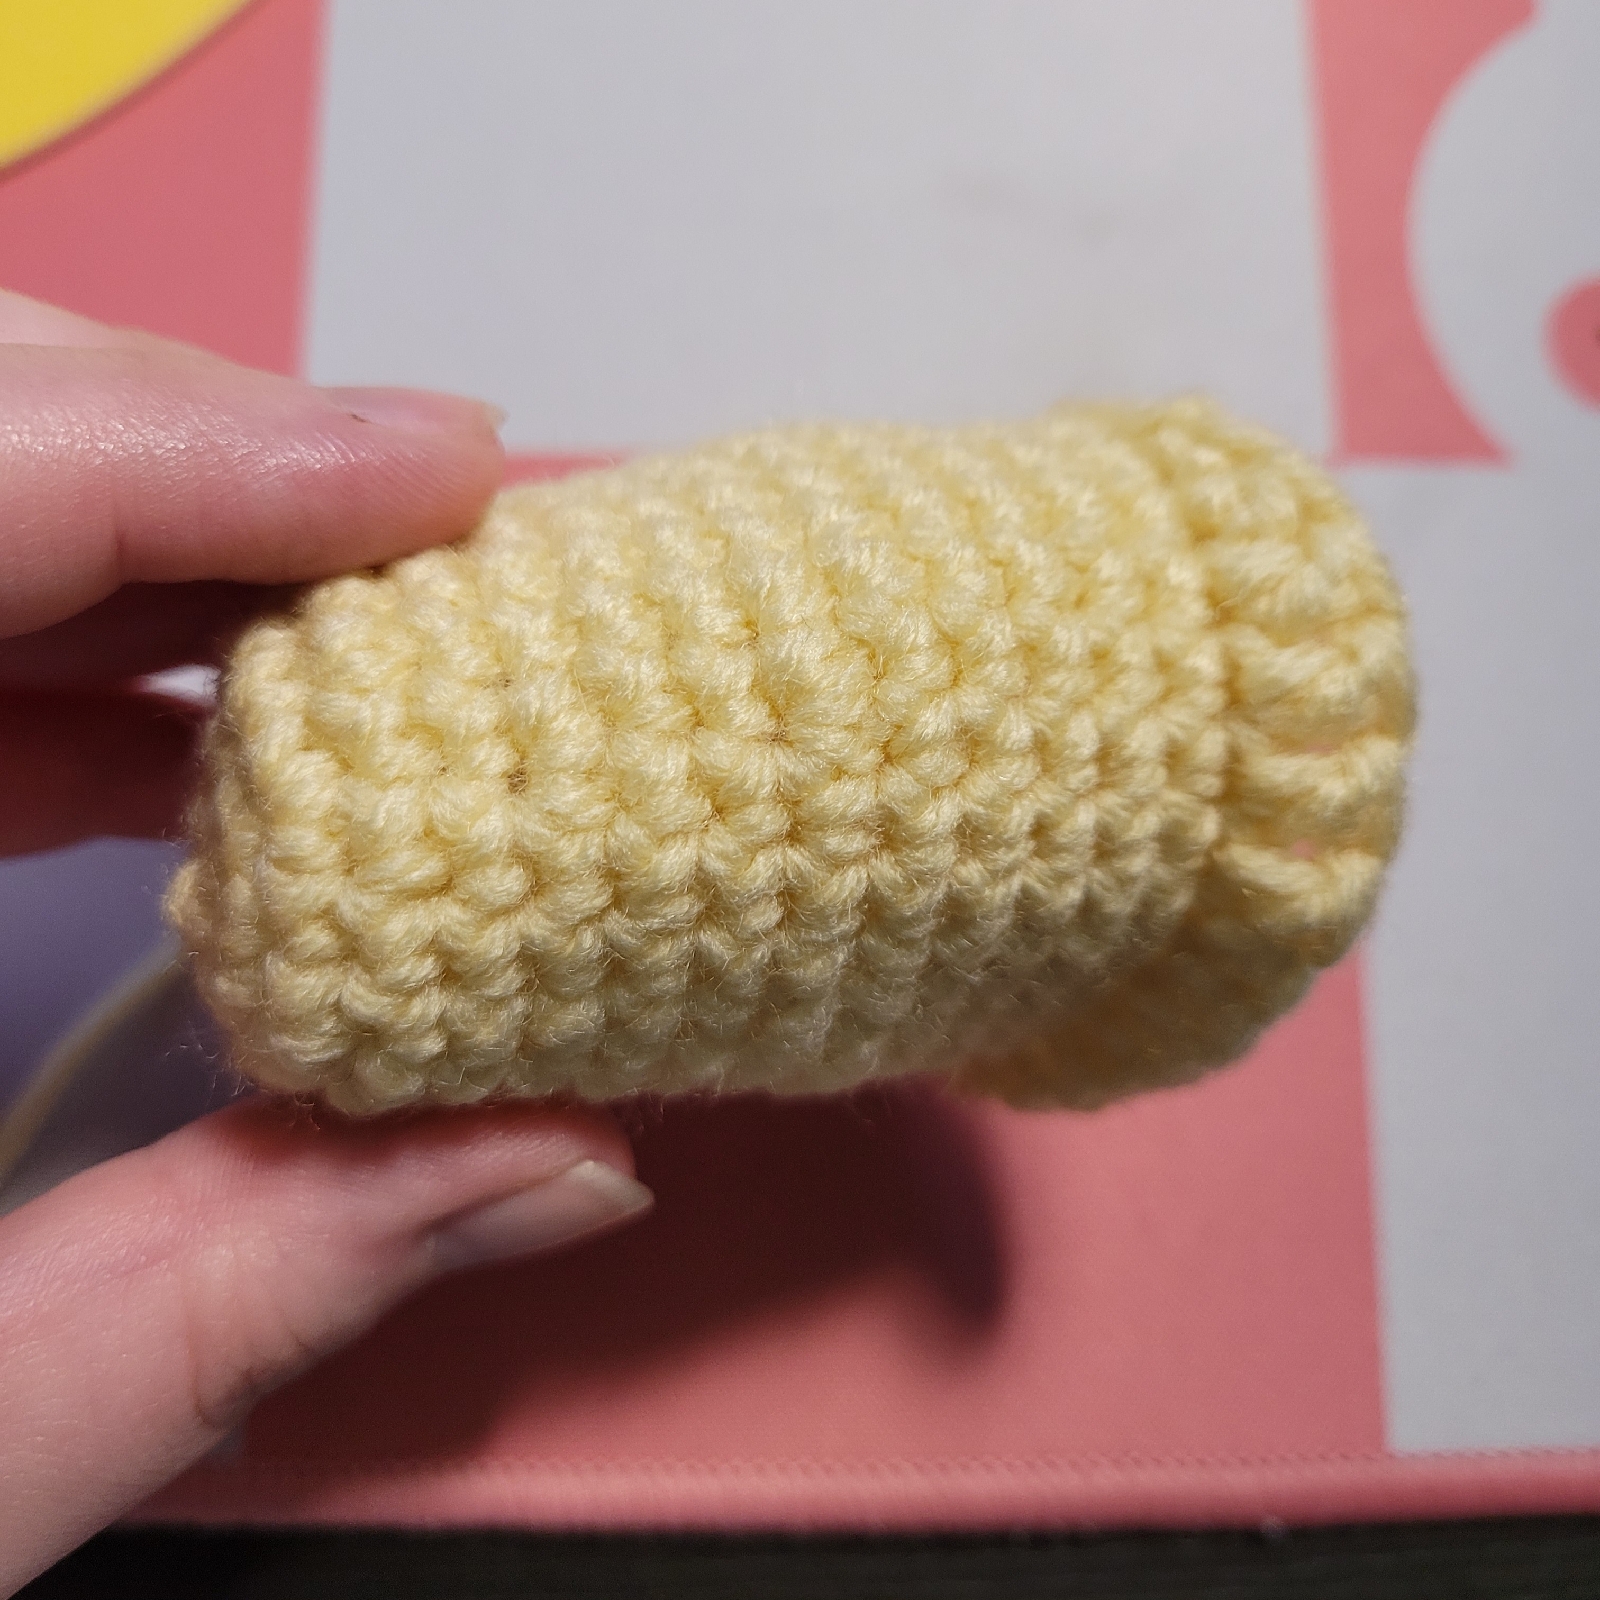
31: FLO; 3SC, 1HDC, CH2, SL back into same front loop, SL into next, CH2, DC into same front loop, 1HDC, SC11.
Arms (x2):
In grey blue.
1: MR 5
2: INC (10)
3: (SC 1, INC) x5 (15)
4-5: SC15 (15)
6: (SC1 DEC) x5 (10)
7-8: SC10
Switch to white.
9-13: SC10 (10)
Head:
In grey blue.
1: MR6 (6)
2: INC x6 (12)
3: (SC1 INC) x6 (18)
4: (SC2 INC) x6 (24)
5: (SC3 INC) x6 (30)
6: (SC3 INC) x6 (36)
7: (SC5, INC) x6 (42)
8: (SC6, INC) x6 (48)
9: (SC7, INC) x6 (54)
10: (SC8, INC) x6 (60)
11-17: SC60 (60)
18: (SC8, DEC) x6 (54)
19: (SC7, DEC) x6 (48)
20: (SC6, DEC) x6 (42)
21: (SC 5, DEC) x6 (36)
22: (SC4 DEC) x6 (30)
23: (SC3 DEC) x6 (24)
24: (SC2 DEC) x6 (18)
Stuff.
25: (SC1 DEC) x6 (12)
26: DEC x6 (6) close up
Muzzle:
In cream.
1: MR6 (6)
2: INC x6 (12)
3: (SC1 INC) x6 (18)
4-5: SC18 (18)
6: (SC2 INC) x6 (24)
7-8: SC24 (24)
9: (SC3 INC) x6 (30)
10-14: SC30
15: FLO SC1, HDC1, DC4, HDC5, DC4, HDC1, SC1, SL finish off.
Eye Patches (x2):
In cream.
1: CH5
2: SC3, SC3 in 1, SC3 (9) CH1 turn.
3: SC4, SC3 in 1, SC4 (11) CH1 turn.
4: SC5, SC3 in 1, SC5 (13) CH1 turn.
5: SC6, SC3 in 1, SC6 (15) Finish off.
Ears (x2):
In grey blue.
1: CH7
2: HDC5, HDC3 in 1, HDC5 (13) CH1 turn.
3: HDC6, HDC3 in 1, HDC6 (15) CH1 turn.
4: SC7, DC3 in 1, SC7 (17) Finish off.
Fur spikes (x6):
In grey blue.
1: MR6 (6)
2: SC6 (6)
3: INC x6 (12)
4: SC12 (12)
5: (SC1 INC) x6 (18)
6-7: SC18 (18) finish off.
Tail:
In grey blue.
1: MR6 (6)
2: SC6 (6)
3: (SC1 INC) x3 (9)
4: SC9 (9)
5: (SC2 INC) x3 (12)
6-9: SC12 (12)
10: (SC2 DEC) x3 (9)
11: SC9 (9)
Stuff
12: SC1, DEC x3 (6)
11: SC6 (6)
Assembly:
- Attach eye patches down first, then muzzle on head with the FLO round at the bottom.
- Glue grey or cream felt inside of ear pieces then sew on to head.
- Stuff and sew all spikes on to back of head in orientation pictured here:
- Use felt, needle felt on white for eyes, black for brows, and brown for nose. Use permanent markers to make the face details.
- Sew arms and tail to body.
- Using a black felt strip make a belt and glue it right at the colour transition.
- Use grey felt to detail the belt.
- Use strips of white felt glued down to make sleeve cuffs.
- Make a tie out of black felt and glue down just tucking it under the collar.
- Using strips of black felt, brown felt and a little black yarn make suspenders, make the pant clips first, by gluing over a folder strip of brown felt over the black yarn (make 4) Pictured here:
- Felt the yarn bits behind the belt on his body and then glue the black strips down behind the brown, and then the brown bits to the black strips.
- Finally using brown felt cut out ovals the size of the bottom of his feet and glue them on as soles of his shoes.
- Using a dark grey sharpie draw stripes on his pants, and a brown sharpie to draw on shoe laces.
- Stitch the body on to the head.
And he's done... Enjoy your new friend!


